Installing sandstone copings: what to get right before the stone arrives
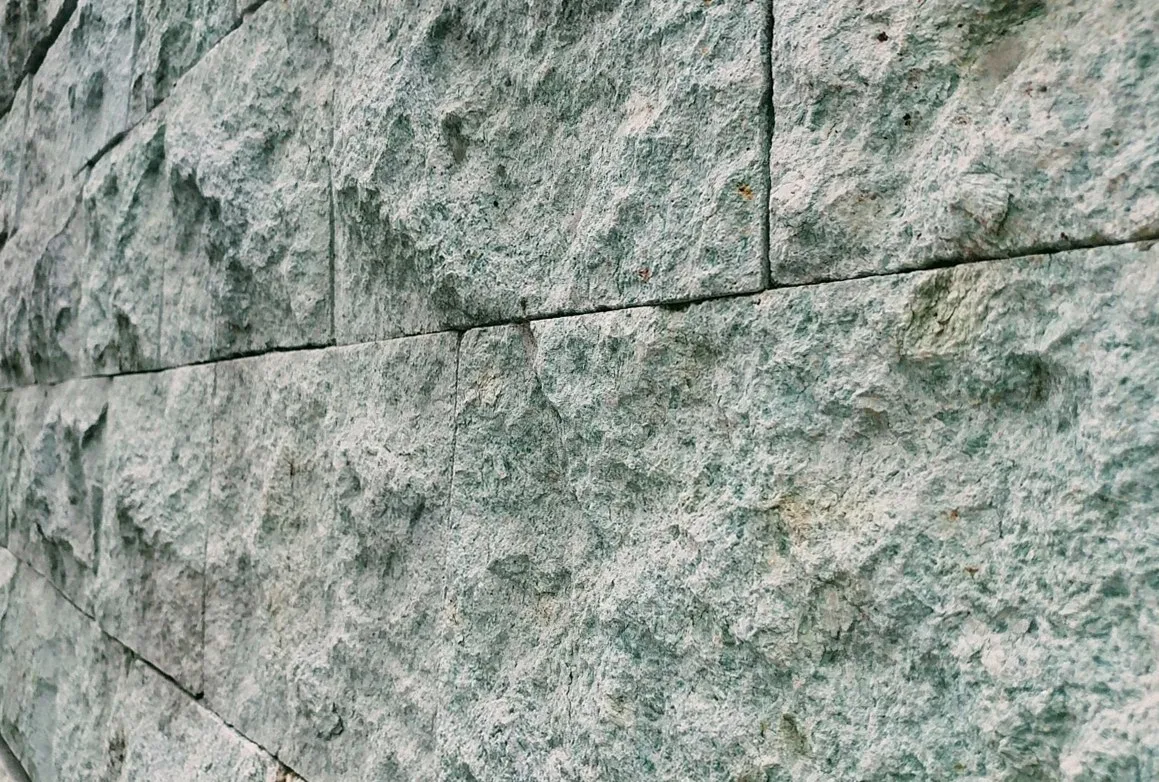
Copings are one of the most exposed elements of any masonry wall, and sandstone copings in particular are vulnerable to failure if the installation details are not right. Most of the problems we see, including cracking, delamination, and mortar joint failure, are caused by issues in the substrate or the bedding rather than defects in the stone itself.
Substrate preparation
The wall head needs to be level, clean, and structurally sound before the copings are laid. Any loose or friable mortar should be raked out and the wall head repointed if necessary. A damp-proof course should be installed between the wall head and the coping bed; this is standard practice and prevents rising moisture from saturating the underside of the coping, which accelerates frost damage.
The wall head should be checked for level across its full length before the copings are ordered. If there is significant variation, this needs to be addressed in the substrate rather than compensated for in the bedding mortar. A thick, uneven mortar bed is a common cause of coping failure because it cures unevenly and can generate differential stresses in the stone.
Bedding mortar specification
For sandstone copings, a moderately weak bedding mortar is preferable to a strong one. A mix of approximately 1:1:6 (cement:lime:sand) is commonly used and provides enough strength to hold the coping in place while remaining flexible enough to accommodate minor thermal movement. A strong cement-rich mortar can cause the stone to crack under thermal cycling because the mortar is stiffer than the stone.
The mortar should be applied as a full bed rather than spot-bedded. Spot bedding leaves voids under the coping that collect water, which then freezes and causes the stone to crack or lift. This is one of the most common installation errors we see, and it is entirely avoidable.
Jointing and movement
Joints between copings should be pointed with a mortar of similar strength to the bedding mix. For runs longer than approximately 3 metres, a movement joint filled with a flexible sealant rather than mortar is advisable to accommodate thermal expansion. The exact spacing depends on the stone type and the exposure of the location; in very exposed positions, movement joints at 2-metre intervals are not excessive.
The throating on the underside of the coping (the groove that runs along the length of the stone) is there to prevent water from tracking back under the coping and running down the wall face. Make sure the throating is not filled with mortar during installation. It is a small detail that is easy to overlook and difficult to correct afterwards.
After installation
New sandstone copings should be protected from rain for at least 48 hours after laying to allow the bedding mortar to begin curing without being washed out. In cold weather, protection from frost for the first 72 hours is advisable. We recommend against applying any sealant to copings until the mortar has fully cured, which typically takes 28 days.
If you have questions about a specific installation detail before your copings arrive, call the yard and we will talk through it. Getting the preparation right is much easier than fixing a failed installation.